Braided Chocolate Chip Brioche Recipe
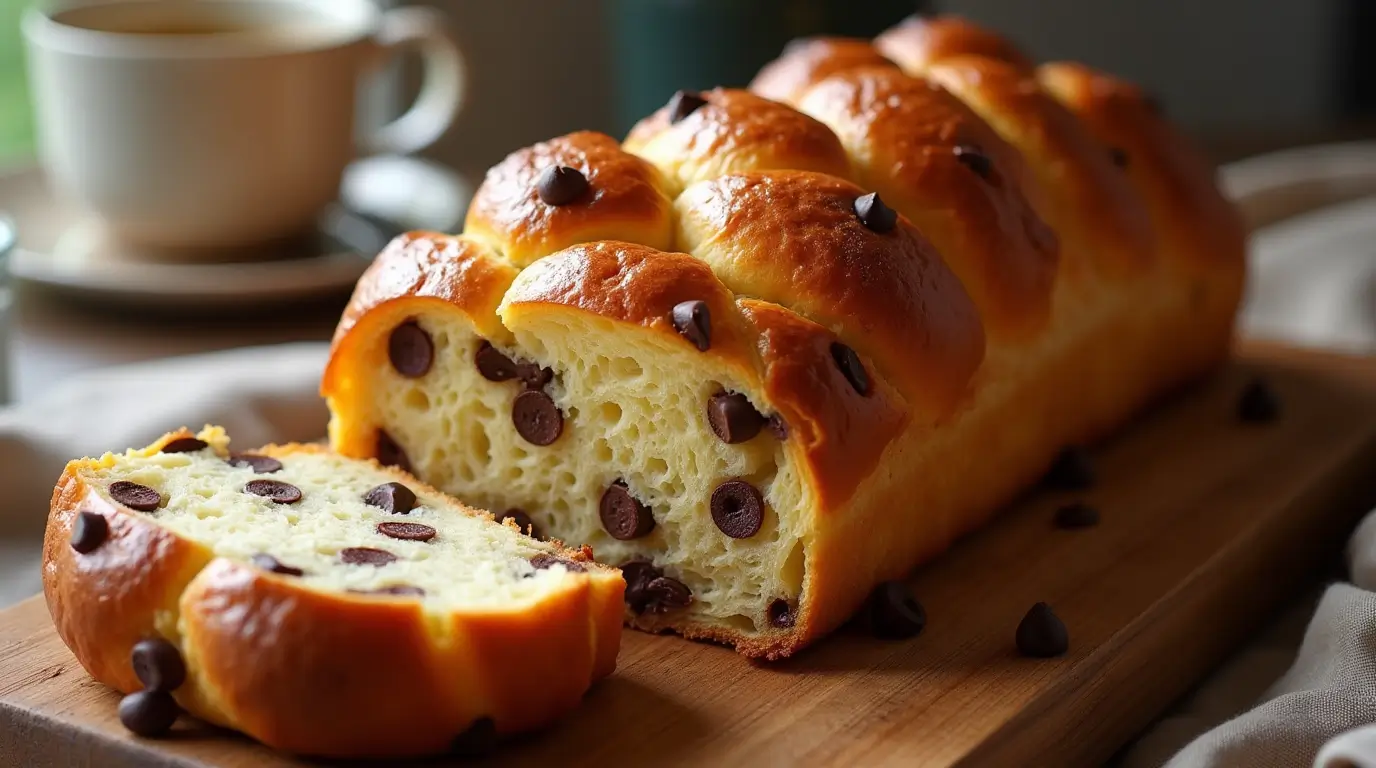
Table of Contents
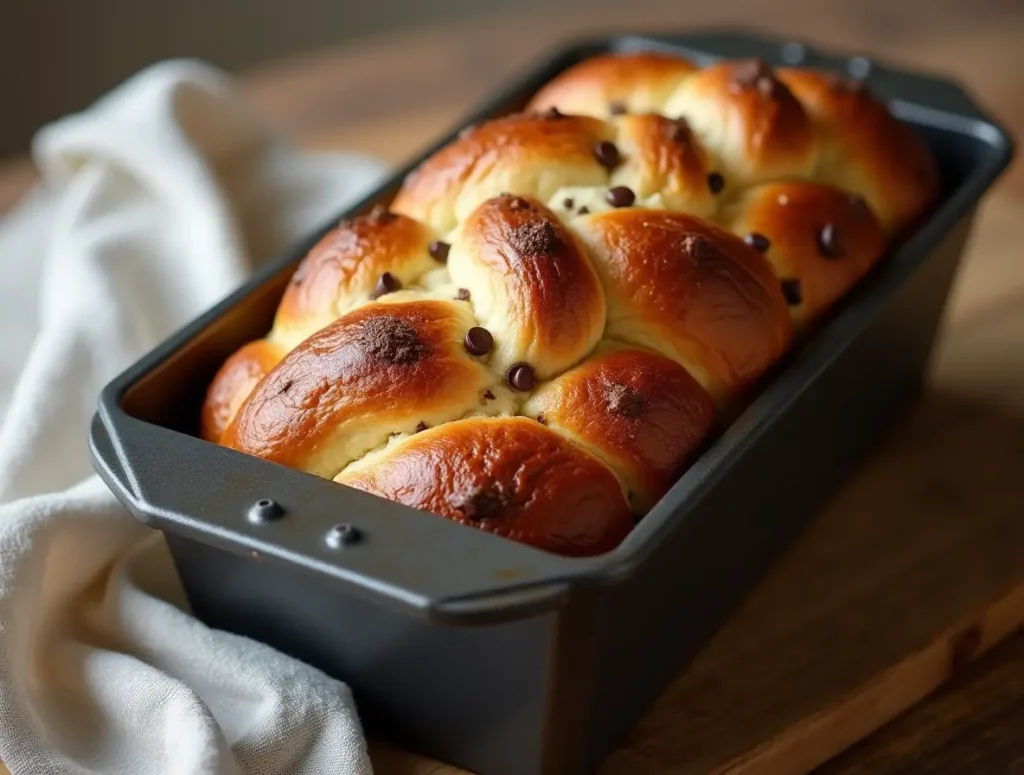
Baking enthusiasts know that there’s nothing quite as satisfying as a perfectly baked loaf of brioche bread-soft, buttery, and slightly sweet. Now, imagine combining that tender, classic brioche texture with a touch of indulgence from chocolate chips and shaping it into a beautifully braided loaf. The result is not only delicious but also visually stunning, making it perfect for any special occasion. Whether you’re preparing a treat for a holiday breakfast, brunch, or a sweet afternoon snack, this chocolate chip braided brioche bread will steal the show.
braided chocolate chip brioche recipe is based on a traditional brioche dough, which offers that perfect balance of butteriness and richness. By adding mini chocolate chips to the dough and braiding it into an elegant shape, you’re left with a comforting, sweet, and irresistible bread that will be the highlight of your table. The braided shape adds an extra layer of sophistication, making it not just a treat for the taste buds but for the eyes as well. So, whether you’re a novice or an experienced baker, this recipe is a great way to create a showstopper bread that’s sure to please everyone.
Ingredients

Brioche Dough Ingredients
- Liquid: Start with lukewarm full-cream milk (or plant-based milk if preferred). It’s crucial to ensure the milk is lukewarm, as it activates the yeast effectively. If it’s too hot, it could kill the yeast, and if it’s too cold, the yeast won’t activate properly.
- Eggs: Use eggs at room temperature for better incorporation into the dough, leading to a smoother texture.
- Sweeteners: The key to the soft sweetness of the brioche is caster sugar, though fine white granulated sugar will also work.
- Leavening: Instant (dry) yeast or active dry yeast will serve as the leavening agent. If you’re using active dry yeast, make sure to bloom it first in lukewarm milk to ensure it’s active. Instant yeast can be added directly without blooming, but it’s still a good practice to test it.
- Flour: Plain or all-purpose flour is the go-to here, but for a slightly more chewy texture, you can substitute with bread flour.
- Fat: Softened unsalted butter is essential. Cut it into cubes to ensure it integrates evenly into the dough. Using softened butter helps it mix more smoothly than cold butter.
- Salt: Always add salt last, as it can inhibit yeast growth if it comes into direct contact with it too early.
Chocolate Filling Ingredients
- Mini Chocolate Chips: Mini chips are preferred for their ability to distribute evenly throughout the dough. Chopped dark chocolate is an alternative if you want larger chunks.
- Optional Flavors: To elevate the chocolate flavor, consider adding a touch of cinnamon or orange zest. The citrus will complement the richness of the chocolate, while the cinnamon provides warmth.
- Creme Patissiere: For a richer filling and a softer final product, creme patissiere is an excellent addition. It also helps the bread maintain its soft texture.
- Egg Wash: This step is optional but highly recommended for that golden, glossy finish.
Equipment
- Stand Mixer with Dough Hook: Using a stand mixer will make the kneading process much easier, especially when working with the rich dough. However, you can also knead by hand with extra effort.
- Rolling Pin: A rolling pin helps to flatten the dough evenly for shaping.
- Loaf Pan or Round Cake Tin: Either can be used to shape the dough, depending on the desired final presentation.
- Baking Paper: Essential for easy removal of the bread after baking.
- Heatproof Mixing Bowl: To melt the chocolate filling ingredients.
Instructions: Braided Chocolate Chip Brioche Recipe
Preparing the Brioche Dough

- Activate Yeast: Begin by combining lukewarm milk, half of the sugar, and your yeast in the mixer bowl. Let this sit for about 10 minutes until the mixture becomes foamy. If you’re using instant yeast, this step isn’t absolutely necessary, but it’s a good habit to get into to ensure the yeast is active.
- Combine Wet Ingredients: Once the yeast has activated, add the room-temperature eggs to the bowl. Mix to combine.
- Add Dry Ingredients: Gradually incorporate the remaining sugar, flour, and salt (adding salt last is crucial, as it can interfere with the yeast if added too early).
- Initial Kneading: Set the mixer to low speed and knead the dough until it forms a sticky mixture.
- Incorporate Butter: Add the softened butter to the dough, one tablespoon at a time, allowing it to fully incorporate before adding more.
- Final Kneading: Increase the mixer speed to medium-high and knead for 15-20 minutes. You’ll know the dough is ready when it’s soft, stretchy, and passes the windowpane test. To perform the windowpane test, take a small piece of dough and stretch it between your fingers. If it stretches into a thin, translucent membrane without tearing, it’s perfect.
- First Proof (Bulk Fermentation): Cover the dough and let it rise in a warm place for 1-1.5 hours, or until it has doubled in size.
- Optional Overnight Proof: For a deeper flavor, you can refrigerate the dough overnight. This also makes it easier to handle the dough the next day.
Preparing the Chocolate Filling
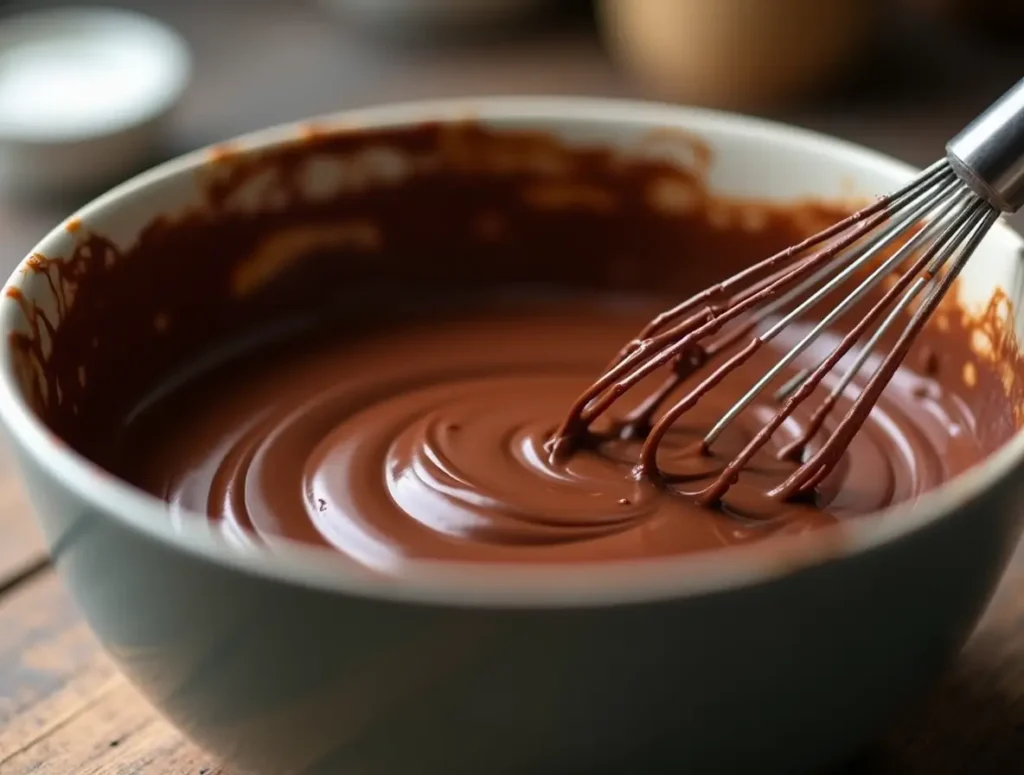
- Melt Chocolate: In a heatproof bowl, melt the chocolate and butter together either in the microwave or over a double boiler until smooth.
- Combine Ingredients: Sift in the icing sugar and cacao powder, mixing until combined. Set aside to cool before use.
- Optional Creme Patissiere: If using, prepare the creme patissiere according to your recipe and allow it to cool completely before incorporating it into the dough.
Shaping the Braided Brioche

- Deflate Dough: Once the dough has risen, punch it down to release the air. Transfer it to a lightly floured surface for shaping.
- Roll Dough: Roll the dough into a large rectangle, approximately 30 x 50 cm (12 x 20 inches).
- Add Filling: Spread the chocolate filling evenly over the dough, leaving a small border at the edges. If using creme patissiere, spread it over the chocolate filling.
- Fold Dough: Fold one-third of the dough over the chocolate filling, followed by folding the other third over the first fold.
- Roll Again: Gently roll the dough into a smaller rectangle, approximately 30 x 40 cm (12 x 15 inches).
- Cut Strips: Using a sharp knife, cut the dough into three long strips.
- Shape Logs: Roll each strip into a log shape.
- Braid the Dough: Braid the three logs together, sealing the edges by pinching them together firmly.
- Shape Dough (Optional): Alternatively, you can shape the dough into individual rolls if you prefer a different presentation.
Proofing and Baking
- Prepare Pan: Line your loaf pan or round cake tin with baking paper to prevent sticking.
- Place Dough in Pan: Place the braided dough into the prepared pan.
- Second Proof: Cover the dough and let it rise for 30-45 minutes. It should puff up and fill the pan.
- Preheat Oven: Preheat your oven to 180°C (350°F) while the dough finishes proofing.
- Egg Wash: Brush the top of the dough with an egg wash for a glossy, golden finish (this step is optional).
- Bake: Bake the brioche for 40-45 minutes, or until it’s golden brown and risen. If the top is browning too quickly, you can cover it with foil during the last 10-15 minutes of baking.
- Cool: Allow the brioche to cool completely in the pan before removing it.
Tips for Success
- Yeast: Bloom your yeast to ensure it’s alive and active, even if you’re using instant yeast.
- Butter: Softened butter is key for easy incorporation and a smooth dough.
- Kneading: Properly knead the dough to develop the gluten structure-use the windowpane test to check.
- Temperature: Proof the dough in a warm place, and don’t rush the rising process; colder kitchens will need extra time.
- Chocolate Chips: Mini chocolate chips are ideal for an even distribution throughout the dough.
- Handling Dough: Gently handle the dough to prevent chocolate chips from melting.
- Proofing Time: Allow the dough to rise fully during both proofs for the best texture.
- Cold Proofing: Consider cold-proofing overnight for improved flavor.
- Even Baking: If the top of the bread begins to brown too quickly, cover it with foil to prevent burning.
Storing and Serving
- Storage: Store the brioche in an airtight container at room temperature for up to 2-3 days.
- Reheating: Warm it slightly in the microwave or toaster to bring back the softness.
- Freezing: For longer storage, freeze the brioche whole and thaw when needed.
- Serving: Serve it warm, on its own, with a pat of butter, or even transform it into French toast for an extra indulgent breakfast.
Conclusion
This chocolate chip braided brioche is the perfect blend of tradition and indulgence. The buttery dough, the sweetness of the chocolate, and the beautiful braided shape come together to make a truly special treat. Whether you bake it for a family breakfast or a holiday gathering, this bread is sure to be a hit. Don’t hesitate to make it your own by experimenting with additional fillings or flavors. If you’ve tried this recipe, leave a comment below or share your own variations!