A Complete Sourdough Bagels recipe Making Journey
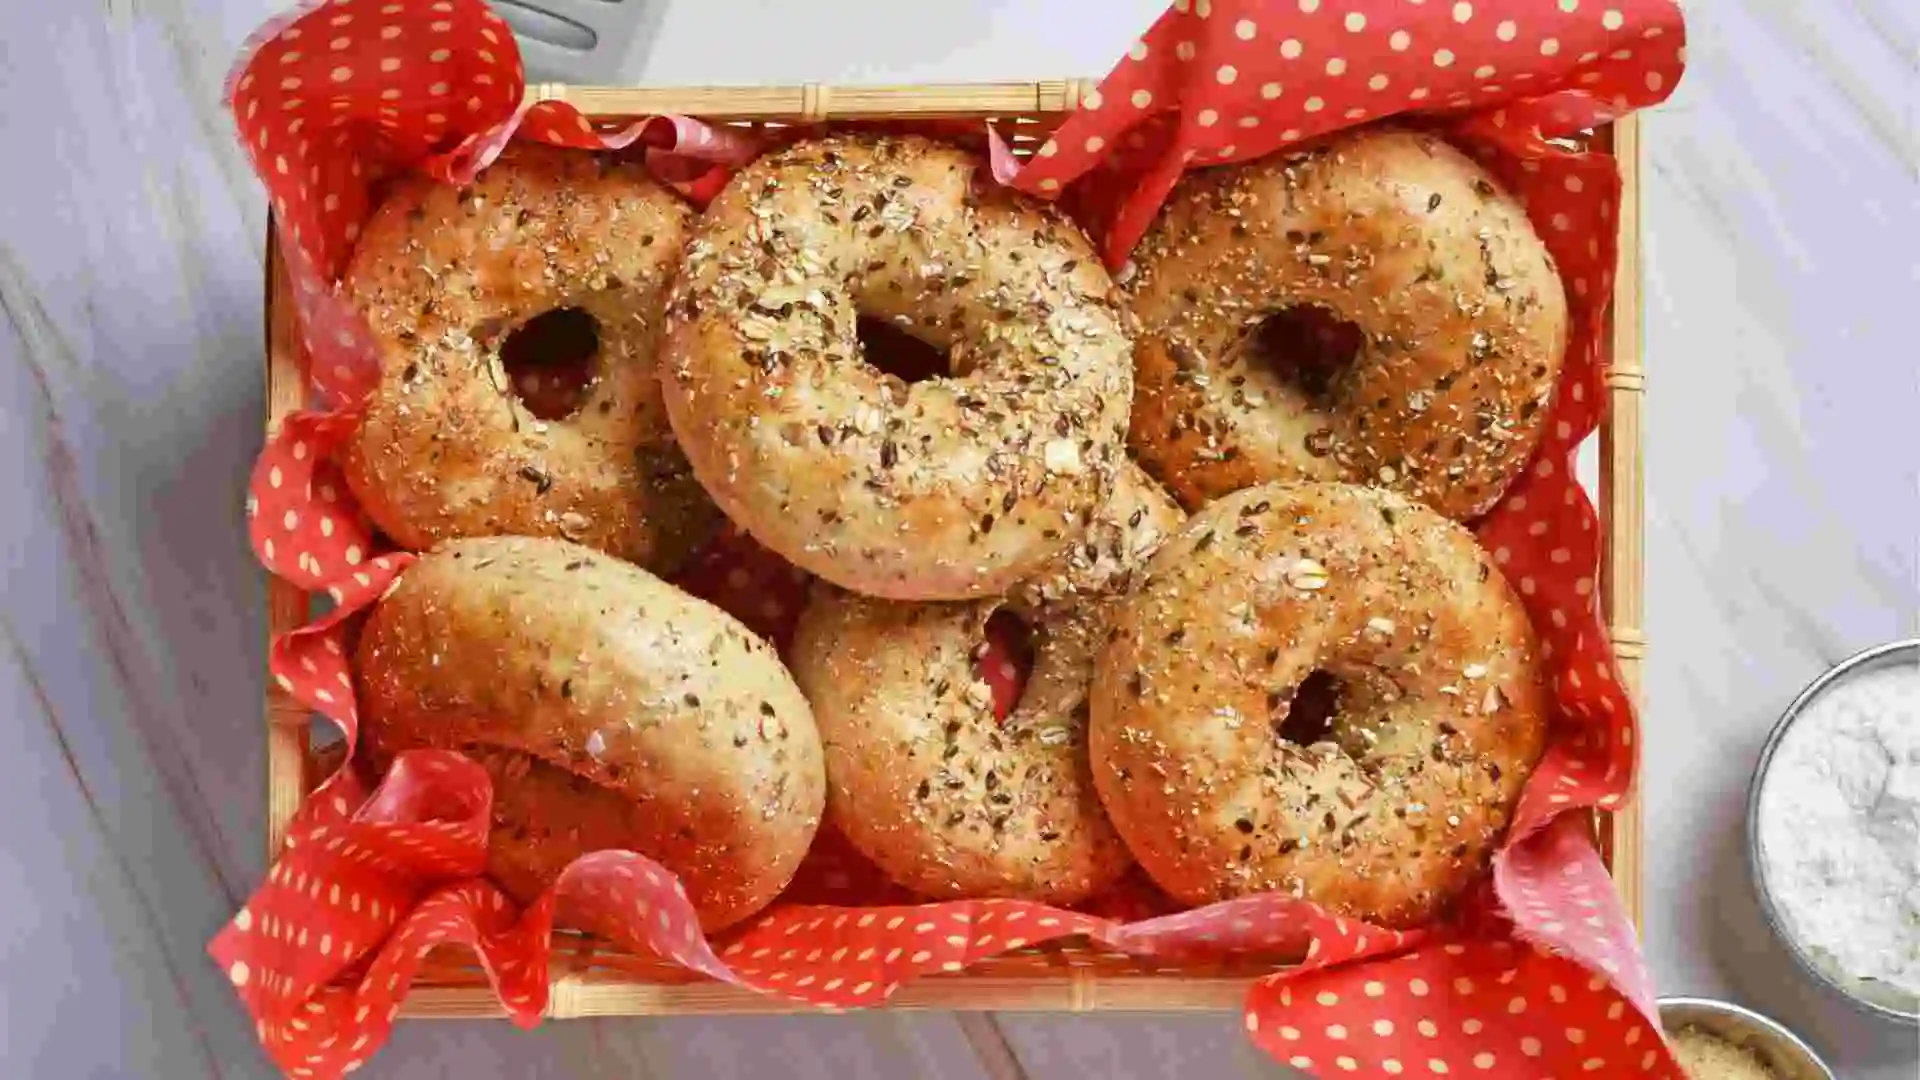
Table of Contents
There’s something magical about the process of making sourdough bagels from scratch. The combination of tangy sourdough flavor with the characteristic chewy texture of a well-made bagel creates an unforgettable breakfast experience. While making sourdough bagels might seem daunting at first, this comprehensive guide will walk you through each step of the process, ensuring success in your home kitchen.
Understanding the Basics sourdough bagel recipe
Before we dive into the step-by-step process, it’s important to understand what makes a sourdough bagel special. Unlike commercial yeast-based bagels, sourdough bagels rely on natural fermentation, which develops complex flavors and improves digestibility. The process takes longer than traditional bagel making, but the results are worth every minute of waiting.
Essential Equipment
Before starting your sourdough bagel recipe journey, gather these tools:
- A kitchen scale for precise measurements
- Large mixing bowl
- Stand mixer (optional, but helpful)
- Baking sheets
- Parchment paper
- Spider tool or slotted spoon for boiling
- Wire cooling rack
- Large pot for boiling
- Clean kitchen towels or plastic wrap for covering dough
Step 1: Preparing Your Sourdough Recipe Starter
The foundation of great sourdough bagels lies in your starter. Your starter should be active and bubbly before beginning the bagel-making process. This usually means feeding it 4-8 hours before you plan to mix your dough, depending on your kitchen temperature and starter strength.
Many bakers wonder whether to use their starter straight from the refrigerator or at room temperature. While both methods can work, using a room-temperature starter typically provides more predictable results and faster fermentation. If you’re using a cold starter, expect longer fermentation times.
A notable tip: The type of flour you use to feed your starter can impact the final flavor. A starter fed with bread flour tends to produce milder, less sour bagels, while a rye-fed starter creates a more pronounced tangy flavor. Choose your feeding flour based on your taste preferences.
Step 2: Mixing the Perfect Bagel Dough
The key to excellent bagels lies in creating a low-hydration dough. Here’s what you’ll need:
- 200g active sourdough starter
- 350g warm water (around 85°F)
- 700g bread flour (or all-purpose flour with protein content above 11%)
- 15g salt
- 30g honey or sugar
- Optional add-ins for flavored varieties
When mixing your dough, remember that bagel dough should feel stiffer than typical bread dough. This stiff consistency is crucial for achieving the proper chewy texture that makes bagels unique. If using all-purpose flour instead of bread flour, reduce the water by 5-10% to maintain the proper consistency.
The mixing process requires patience. Combine your starter, warm water, and honey first, stirring until well combined. Add the flour and salt, mixing until you have a shaggy mass. Don’t be tempted to add more water, even if the dough seems dry – this is exactly what you want for bagels.
Step 3: Initial Kneading and Rest Period
The kneading phase is crucial for developing the gluten structure that gives bagels their characteristic chew. While a stand mixer can make this process easier, many experienced bakers prefer hand kneading for better control and feel of the dough.
Knead the dough for 5-10 minutes until it becomes smooth and slightly tacky but not sticky. The dough should pass the windowpane test, meaning you can stretch a small piece thin enough to see light through it without tearing.
After kneading, cover the dough and let it rest for one hour at room temperature. This rest period, also known as autolyse, allows the flour to fully hydrate and the gluten to relax, making the dough easier to shape later.
Step 4: Bulk Fermentation and Dough Development
Bulk fermentation is where the magic of sourdough really happens. During this phase, your dough will develop flavor and strength through natural fermentation. The process can take anywhere from 4-12 hours at room temperature, depending on various factors:
- Kitchen temperature
- Starter strength
- Flour type
- Desired level of sourness
For enhanced dough development, consider performing 2-3 sets of stretch and folds during the first few hours of bulk fermentation. This technique helps strengthen the dough and ensures even fermentation.
Many bakers prefer to include a cold fermentation period in the refrigerator, which can last anywhere from 12-72 hours. This slow fermentation develops deeper flavors and makes the dough easier to handle during shaping.
Step 5: Shaping Your Bagels
When your dough has roughly doubled in size and shows signs of fermentation (small bubbles visible through the sides of the container), it’s time to shape your bagels. Here’s the process:
- Gently turn the dough onto a lightly floured surface
- Divide into 100-135g portions for consistently sized bagels
- Shape each portion into a tight ball
- Let the balls rest for 10-15 minutes to relax the gluten
- Create the bagel shape using your preferred method:
- Traditional: Poke a hole in the center and gently stretch
- Roll and wrap: Roll into a rope and wrap around your hand, sealing the ends
The key to successful shaping is handling the dough firmly enough to create surface tension but gently enough to avoid degassing it completely.
Step 6: The Final Proof
After shaping, your bagels need a final proof to achieve the perfect texture. Place them on parchment-lined baking sheets, cover loosely, and let them proof for 20-60 minutes at room temperature. The bagels should look slightly puffy but not doubled in size.
For enhanced flavor and convenience, you can proof the shaped bagels overnight in the refrigerator. This cold proof not only develops more complex flavors but also allows you to fresh-bake bagels in the morning.
Step 7: The Boiling Step
The boiling step is what gives bagels their distinctive chewy crust and glossy appearance. Bring a large pot of water to a boil and add one of the following:
- 1 tablespoon honey
- 1 tablespoon barley malt syrup
- 1 tablespoon baking soda
Boil each bagel for 30-45 seconds per side. Longer boiling times result in chewier bagels with a thicker crust, while shorter times produce a softer texture. Use a spider tool or slotted spoon to handle the bagels, ensuring they maintain their shape.
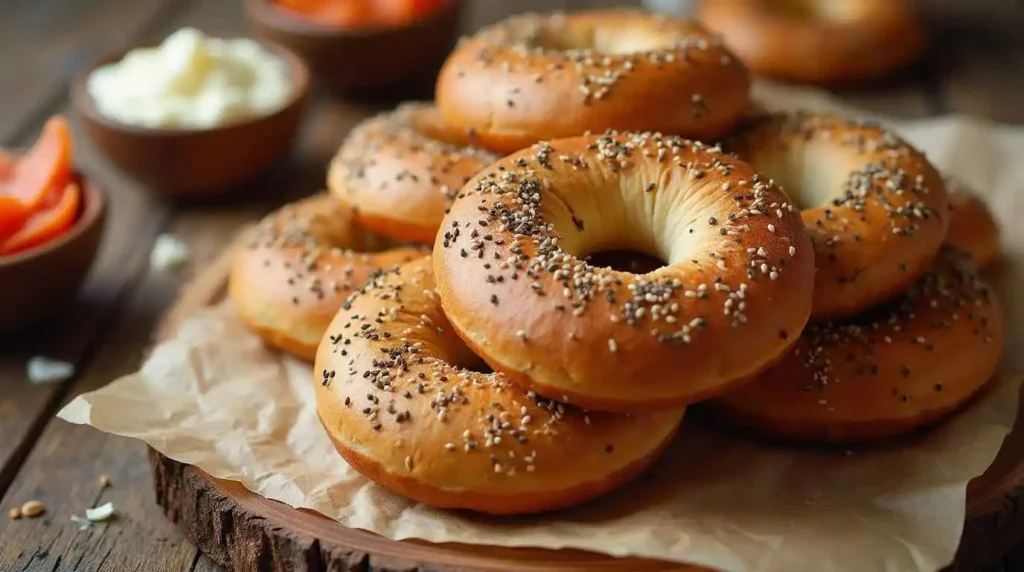
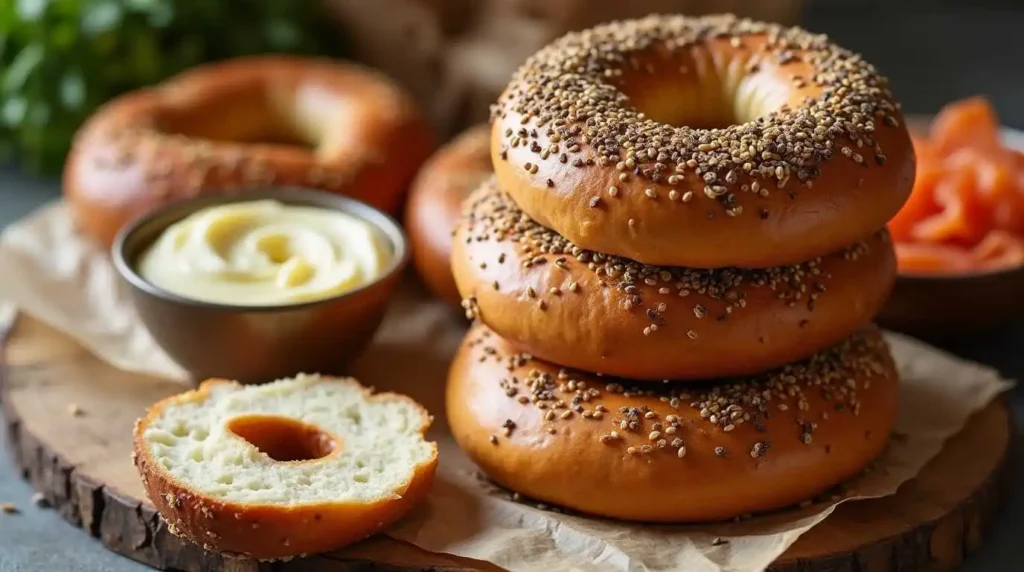
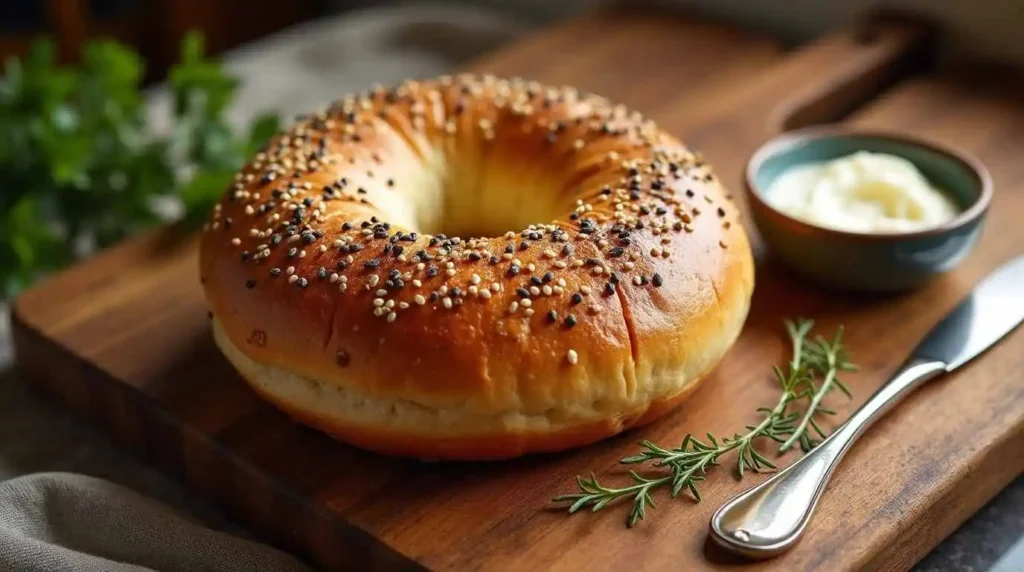
Step 8: Adding Toppings
After boiling, you have a brief window to add toppings while the bagels are still wet. Popular options include:
- Everything bagel seasoning
- Sesame seeds
- Poppy seeds
- Dried onion or garlic
- Coarse salt
- Cheese (asiago, cheddar)
For better topping adhesion, you can brush the boiled bagels with an egg wash before adding the toppings.
Step 9: Baking to Perfection
Preheat your oven to 425-450°F (220-232°C) with a rack in the middle position. For the best results:
- Use a baking stone if you have one
- Create steam by placing a pan of hot water on the bottom rack
- Bake for 20-25 minutes until golden brown
- Rotate the baking sheet halfway through for even browning
The bagels should have a rich, golden-brown color and sound hollow when tapped on the bottom.
Step 10: Cooling and Storage
Allow your bagels to cool completely on a wire rack before slicing. This cooling period is crucial for the final texture development. Fresh bagels are best enjoyed within 24 hours but can be:
- Stored in an airtight container for 2-3 days
- Frozen for up to 3 months
- Refreshed in a hot oven for a few minutes before serving
Troubleshooting Common Issues sourdough bagel
Even experienced bakers encounter challenges. Here are solutions to common problems:
- Dense Bagels
- Ensure proper bulk fermentation
- Check starter activity
- Avoid overhandling during shaping
- Flat Bagels
- Increase boiling time
- Check proofing temperature
- Verify oven temperature
- Wrinkled Surface
- Reduce proofing time
- Adjust water temperature
- Check dough hydration
- Irregular Shapes
- Practice consistent shaping technique
- Weigh portions accurately
- Handle dough more gently
Advanced Tips for Perfecting Your Bagels
- Temperature Control
- Maintain consistent room temperature during fermentation
- Use thermometer to check water temperature
- Monitor oven temperature with separate thermometer
- Flour Selection
- High-protein flour (12-14%) yields best results
- Fresh-milled flour requires hydration adjustments
- Consider blending different flours for unique flavors
- Timing Adjustments
- Learn to read dough readiness rather than following strict times
- Adjust proofing based on environmental conditions
- Plan ahead for cold fermentation
Creative Variations
Once you’ve mastered the basic recipe, experiment with these variations:
- Flavored Dough
- Cinnamon raisin
- Whole wheat
- Rye blend
- Herb and garlic
- Special Toppings
- Caramelized onions
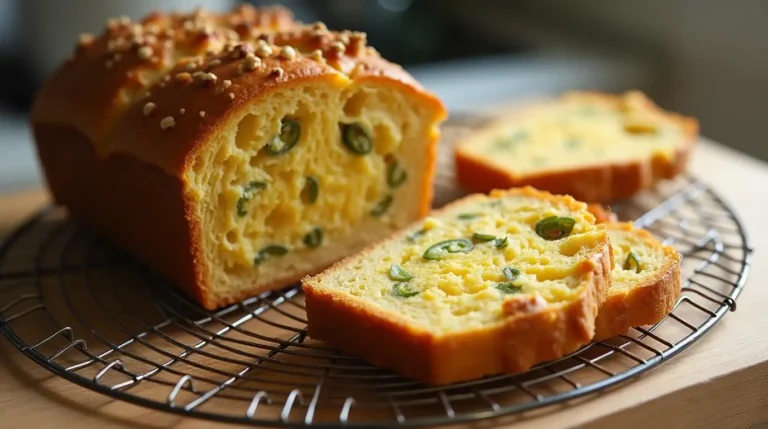
- Jalapeno cheddar
- Blueberry
- Sundried tomato
- Holiday Specials
- Pumpkin spice (fall)
- Cranberry orange (winter)
- Garden herb (spring)
- Everything spice (year-round favorite)
Conclusion
Making sourdough bagels at home is a rewarding journey that combines science, art, and patience. While it may take several attempts to achieve your perfect bagel, each batch will teach you something new about the process. Remember that variables like temperature, humidity, and flour characteristics all play important roles in the final product. Keep notes on your process and adjustments, and don’t be afraid to experiment once you’ve mastered the basics.
With practice and attention to detail, you’ll be making bagels that rival your favorite bakery’s offerings. The satisfaction of pulling perfectly golden, chewy bagels from your own oven makes the entire process worthwhile. Happy baking!